As I told you all yesterday, I got a new
food processor! I just could not wait to use it! The first night I got it, I tried to use it to mix my
naan dough, but it was a fail - too much dough! So last night I tried again and it was an amazing success!
If you like hummus, I can promise you that you will LOVE this.

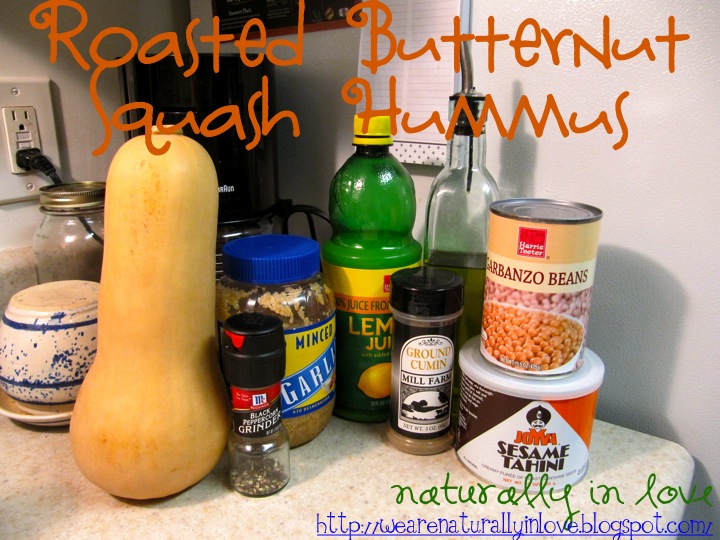
Ingredients
1 butternut squash
5 cloves of minced garlic
1 tbsp of ground cumin
1 1/2 tsp of salt
1 1/2 tsp of pepper
1 tbsp of lemon juice
3 tbsp of extra virgin olive oli
2 tbsp of tahini
2 cans of garbanzo beans, rinsed

Directions
1. Preheat your oven to 350º
2. Cut your butternut squash in half. This will take a sharp knife and a lot of muscle. Good thing I have been working out. Scoop out all the seeds and set aside.
3. Drizzle olive oil and sprinkle with salt and pepper. Place on a cookie sheet in the oven and roast for 1 hour.

4. While roasting (breath in an enjoy the smell) gather the rest of your ingredients. In your food processor add garlic, cumin, salt, pepper, lemon juice, olive oil and tahini. Give it a few pulses to mix it up. Then add one can of garbanzo beans and wait! Don't mix yet, even if you're excited, wait.

5. Once the squash is done roasting let cool for about 15 minutes if you're antsy or 30-60 minutes if you have time and don't want to get burned. I waited about 5 minutes and suffered the hot potato game.
6. Scoop out the squash avoiding the skin and add to the processor. Add the second can of garbanzo beans and pulse until smooth.
7. Be the first to taste so you don't poison your friends and family!
8. Enjoy with veggies, pita, leftover
naan, and pretzels.
I'm sure you are asking why you set the seeds aside? To make roasted squash seeds of course! Rinse, let soak in salt water for 30 minutes. Drain and place on cookie sheet. Drizzle with olive oil, salt and pepper. Bake at 350º for 15 minutes stirring half way through. Let cook and enjoy!
 |
| Kiley approves! |